Nowadays a smartphone is the first thing we pack when heading out on tour. We use it to navigate, to keep contact with loved ones, to translate the local language, but most of all, we use our smartphone to take travel photos and capture the incredible things we see, eat and experience all day, every day. Yes, smartphone cameras are not as powerful as DSLR cameras (not yet, anyway), but the latest smartphone designs have come a long way. They are light, convenient and have features like image stabilisation, optical zoom and some nifty editing functionalities. To take a truly memorable picture, however, requires some thought and awareness of your surroundings. You need a combination of the right settings on your camera, good light, interesting composition and that special angle.
Read on to find out the 5 top smartphone photography tips to help you take seriously impressive photos next time you’re on an Expat Explore tour!
Top smartphone photography tips for travel:


RELATED: See Dubrovnik for yourself on our 14-day Croatia and Eastern Delights Tour.
Know your smartphone
The first and most important trick is to understand the settings and functions of your camera phone. Take a second before your trip to look at and tweak the settings on your camera phone. Look at things like brightness, shooting mode, image quality and size. A simple example would be tapping the object on your screen for an automatic exposure adjustment. Also make sure you know how to use the different shooting options like panorama or black and white, for instance.
Today, most smartphones come equipped with pre-set modes to make your life that much easier! For example, see if your smartphone has a pre-setting for food photography to capture local cuisine restaurant-style. Play around with portrait mode, too! You can even select the lighting (indoor, natural, contrast, etc.) to best highlight the subject of your portrait.

Before you head on tour, think about…
- Storage space. We bet you’ll be taking pictures all day and therefore need more space! Stock up on extra memory cards or take a device to export your photos in the evenings.
- Battery Power. Taking photos and sharing them will drain your battery in no time. Extra battery or a battery pack can do the trick!
- Keep your lens and phone clean and safe. Cotton swab, smartphone case and a screen cover are essential to try and avoid a cracked screen or dirty lens.
Fill your frame
Take time to gauge your environment and think about what it is that you want to capture and how you can best frame the object, scene or person. If you are taking a photo of a building, for instance, try and fit the complete building into your frame. Avoid cutting out bits of the roof or perhaps someone’s feet in a group photo. Remember that you have landscape, portrait and possibly panoramic options to work with.
Lately, most smartphone lenses already come equipped with wide-angle options. See if there’s a 0.5 vs 1 button and play around on 0.5 (wide angle) to get the most of your desired landscape in the frame. For portraits of people, try having them stand quite far in front of the landmark so as much of it fits in the background as possible. You can even play around with portrait and standard mode to have the landmark blurred or crystal-clear in the background.
Choose the right light
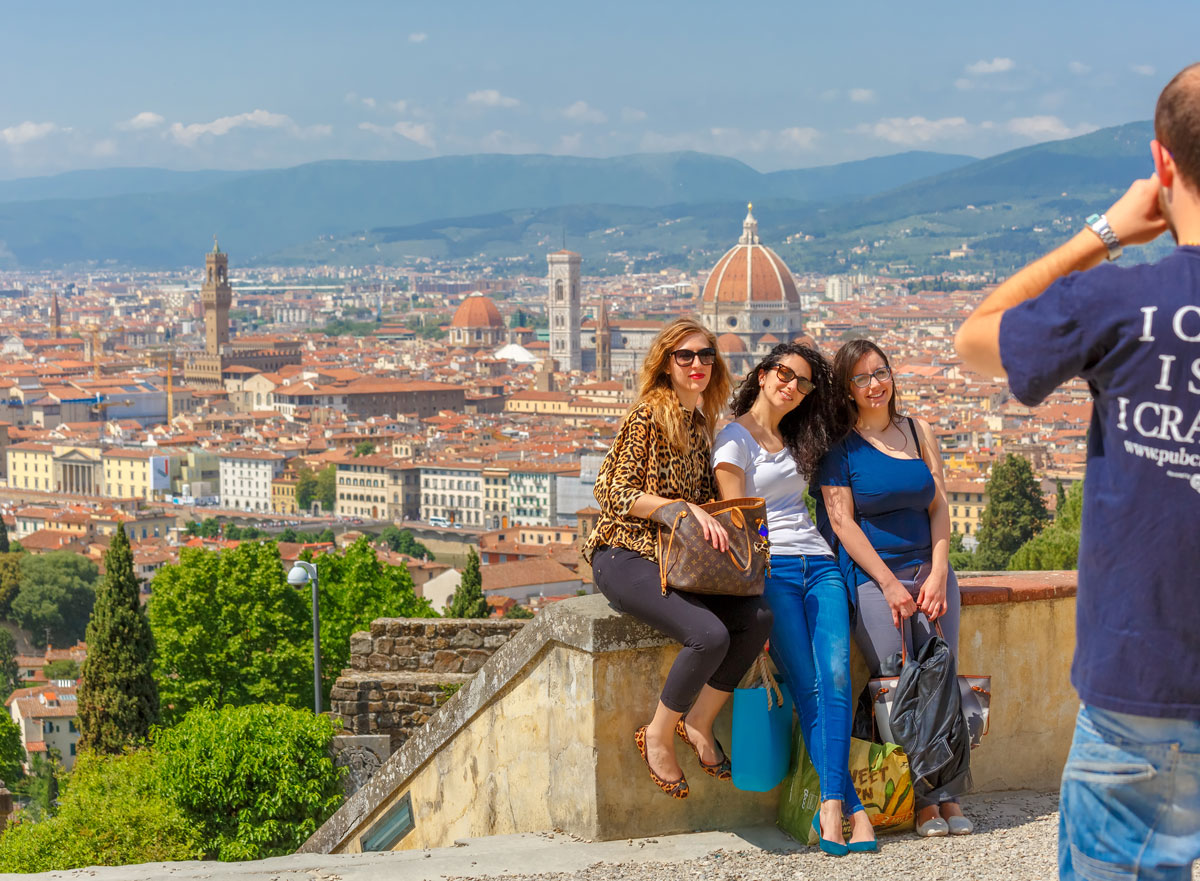
If you can, adjust your shot in such a way that the object or landscape is attractively lit. When taking a group photo outside, for example, keep the sun behind you (as the photographer) and let your friends face the sun (as the subject). This way you can avoid dark shadows on their faces in the photo. However, keep in mind that very bright sunlight might overexpose your subjects, so pick a spot with the best balanced light.
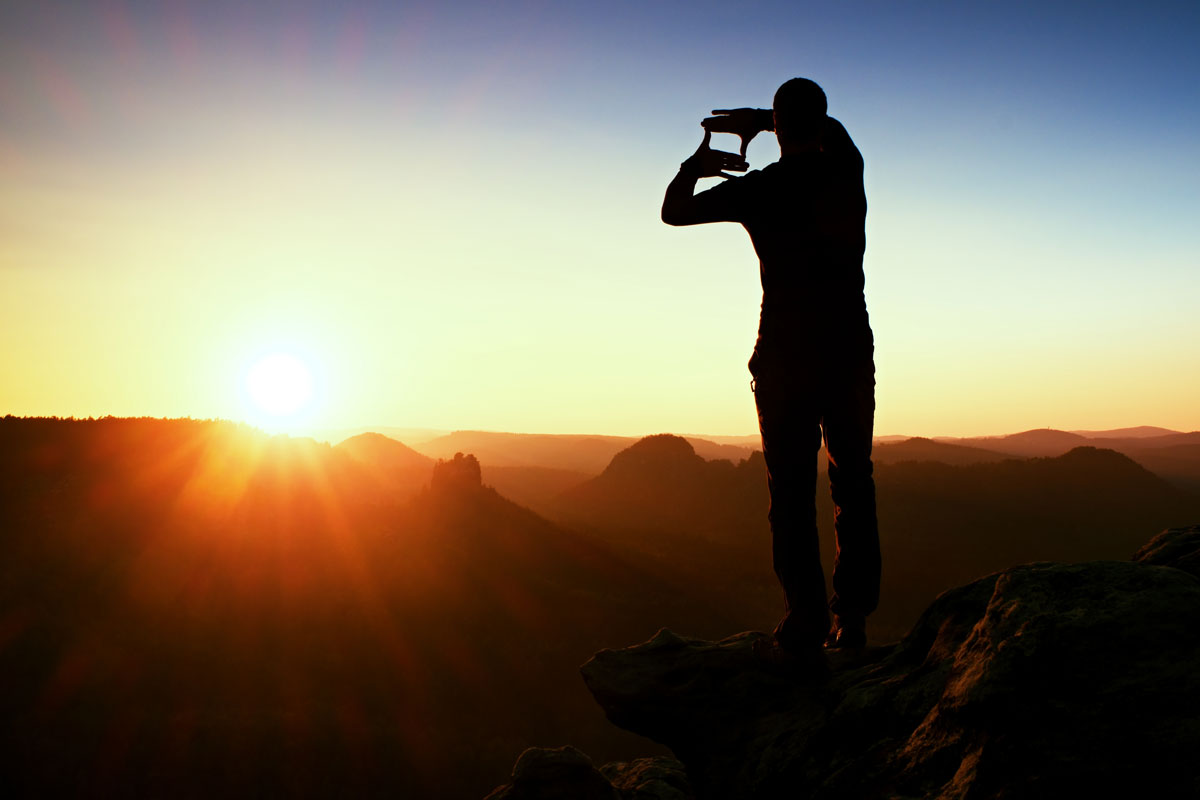
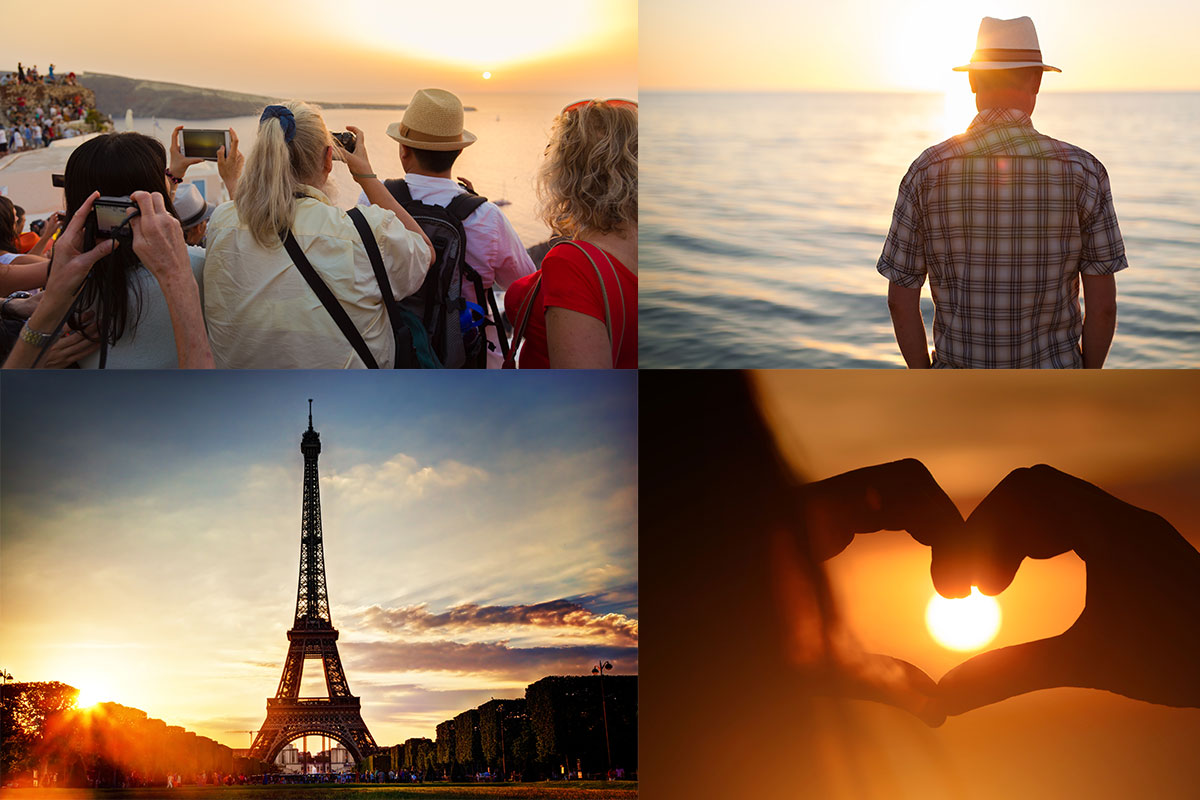
Learn the skill to identify good light – the type of light that gives a scene depth and shape, and get creative by using that light to add something different to your photos. Shoot into the sun to capture colourful lens flare photos or use silhouettes and shade to produce compelling images.
When you have more time in a location, make sure you are ready when the light is right. Early in the morning or late in the afternoon is known as the Golden Hour. The light is soft and you have the sun waiting on the horizon – perfect circumstances for a great photo.
Lastly, ditch the flash if you can. It creates harsh highlights and light, especially when inside. Unless it’s the only way for you to see the object, rather go for natural light.
Related: Check out our regional tours to Italy.
Align yourself
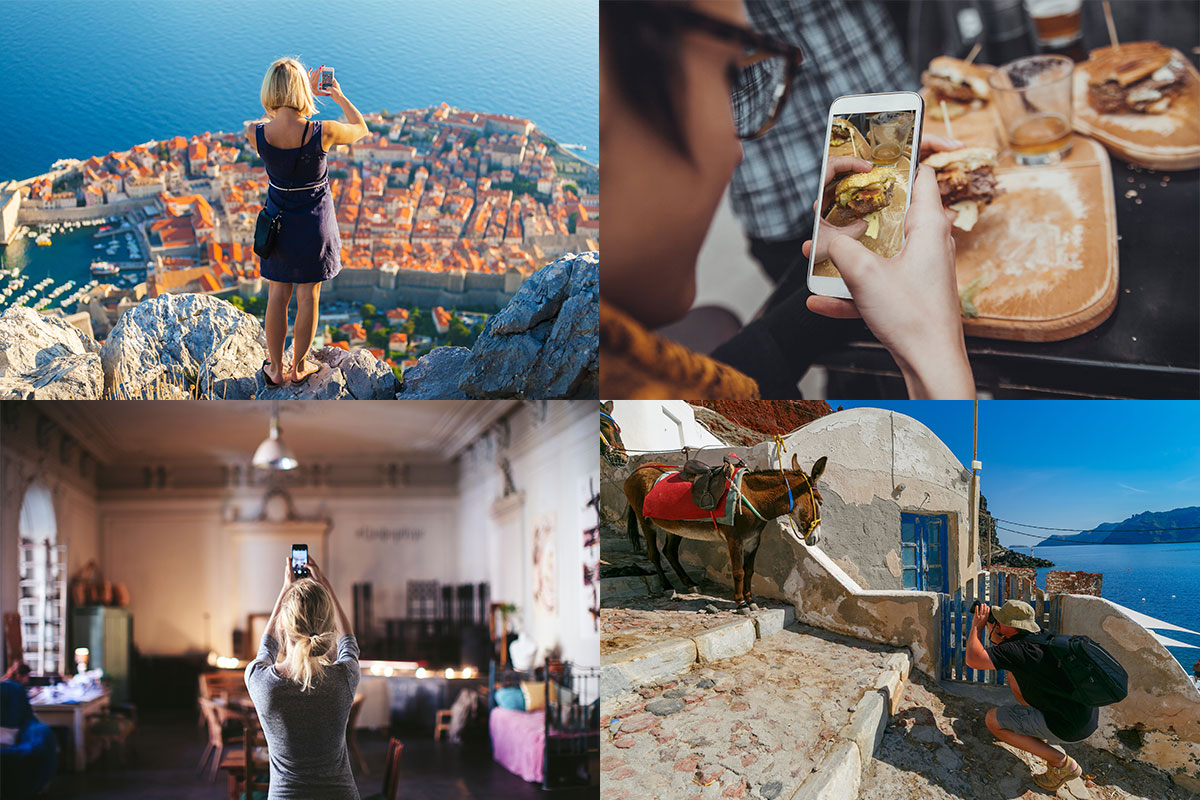
Great photos are all about taking them from the right point of view and aligning yourself when taking the shot. Sometimes taking a photo from a lower, higher, closer or even just a different angle makes for a much better shot. And yes, this might mean squatting, jumping or even lying on your back to get the perfect angle. The rule here is that there are no rules: get away from eye level, look at the details around you and focus on what catches your eye. See if you can capture someone or something out of the ordinary.


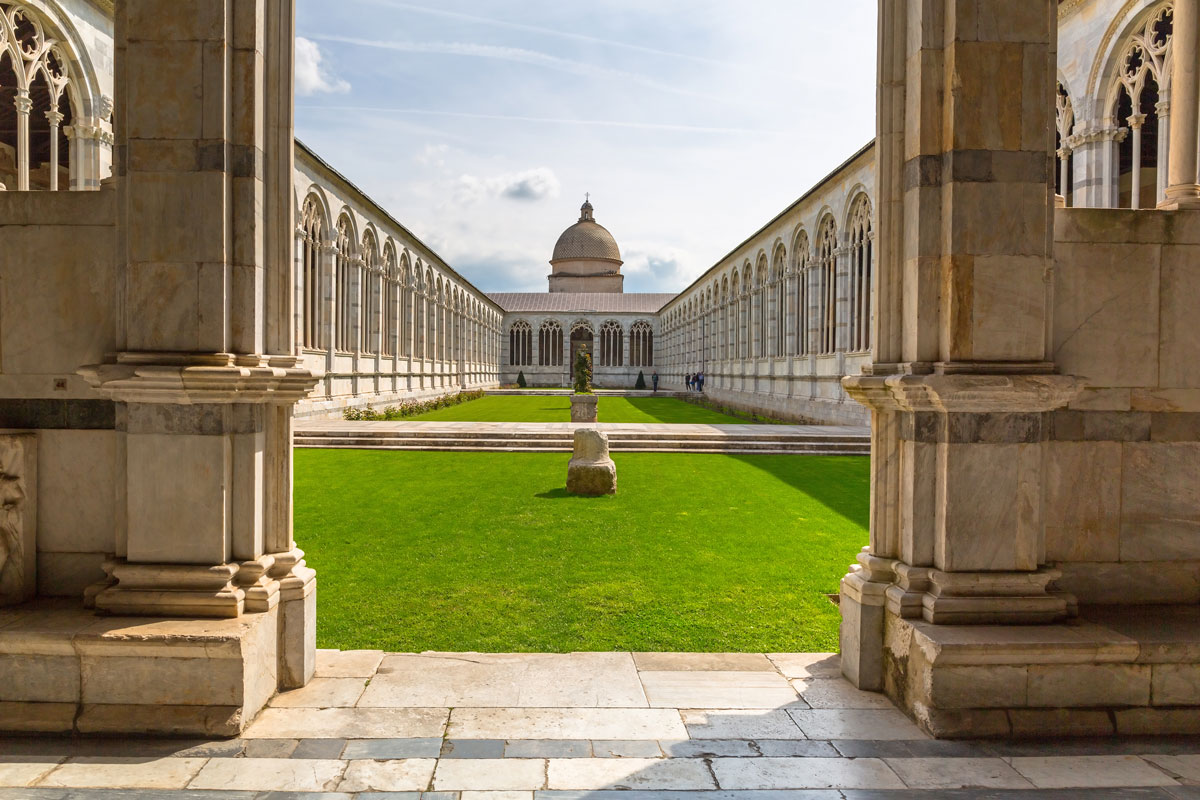
Make good use of the Rule of Thirds
Find the best way to balance your photo compositionally by using The Rule of Thirds. It’s one of the best photographic composition techniques out there. This is certainly one of the top smartphone photography tips!
Here’s how it works: When taking a photo, draw a grid (in your mind or by using the setting on your camera phone) with 2 horizontal and 2 vertical lines, dissecting the camera in 9 equal squares. Take the photo with the subject of the photo on or near the intersection lines of the grid. The whole idea is to position the important element a bit off-centre to create a picture that is more pleasing to the eye.
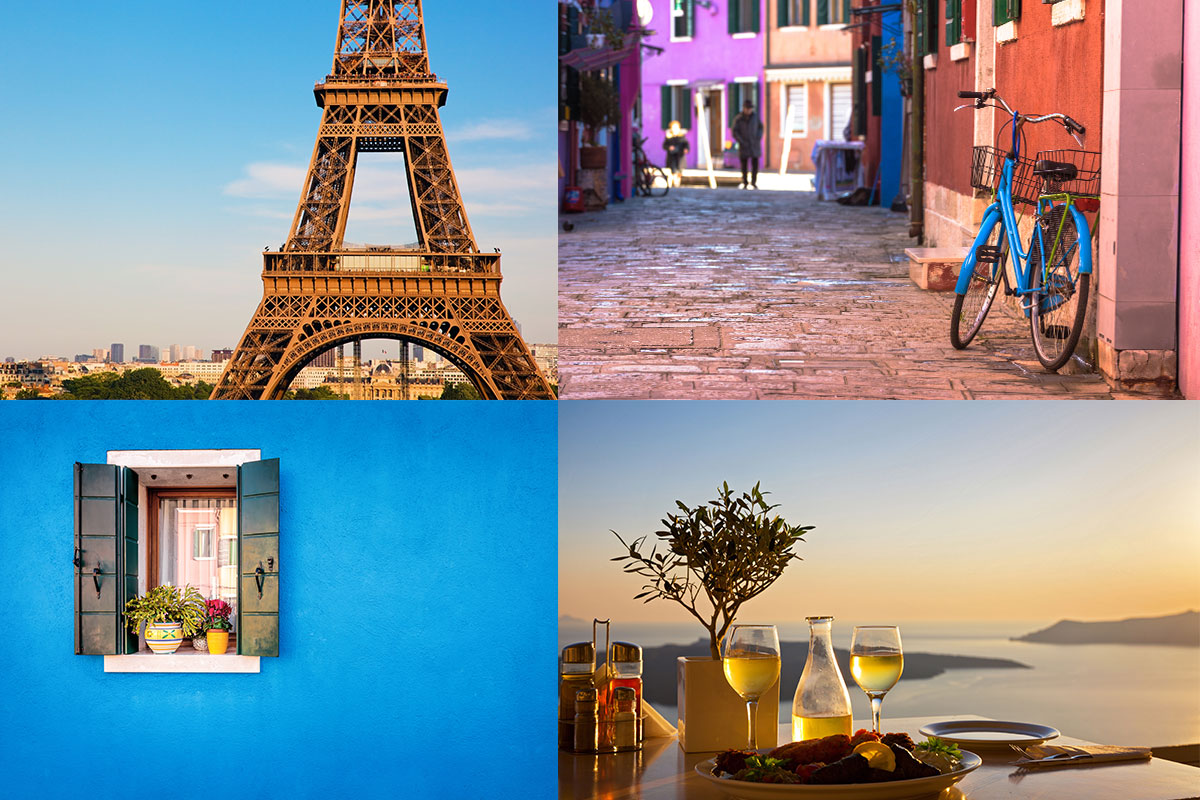
Great composition, lighting and interesting angles can help you take seriously impressive travel photos! Been on tour recently? Share your travel photos with us on Facebook, Twitter and Instagram by tagging them with #ExpatExplore